Duck Teething Ring Free Crochet Pattern
- Elisa
- Mar 12, 2024
- 5 min read
Happy Tuesday my fellow crafters!
Let's turn a boring wood ring in a sweet and delicate duck teething ring!
Your baby will have a blast playing with it!
Create a colorful collection to add to the crib and the baby stroller!...and if you want to make this project even more fun, just add a rattle insert into the head of the duck!
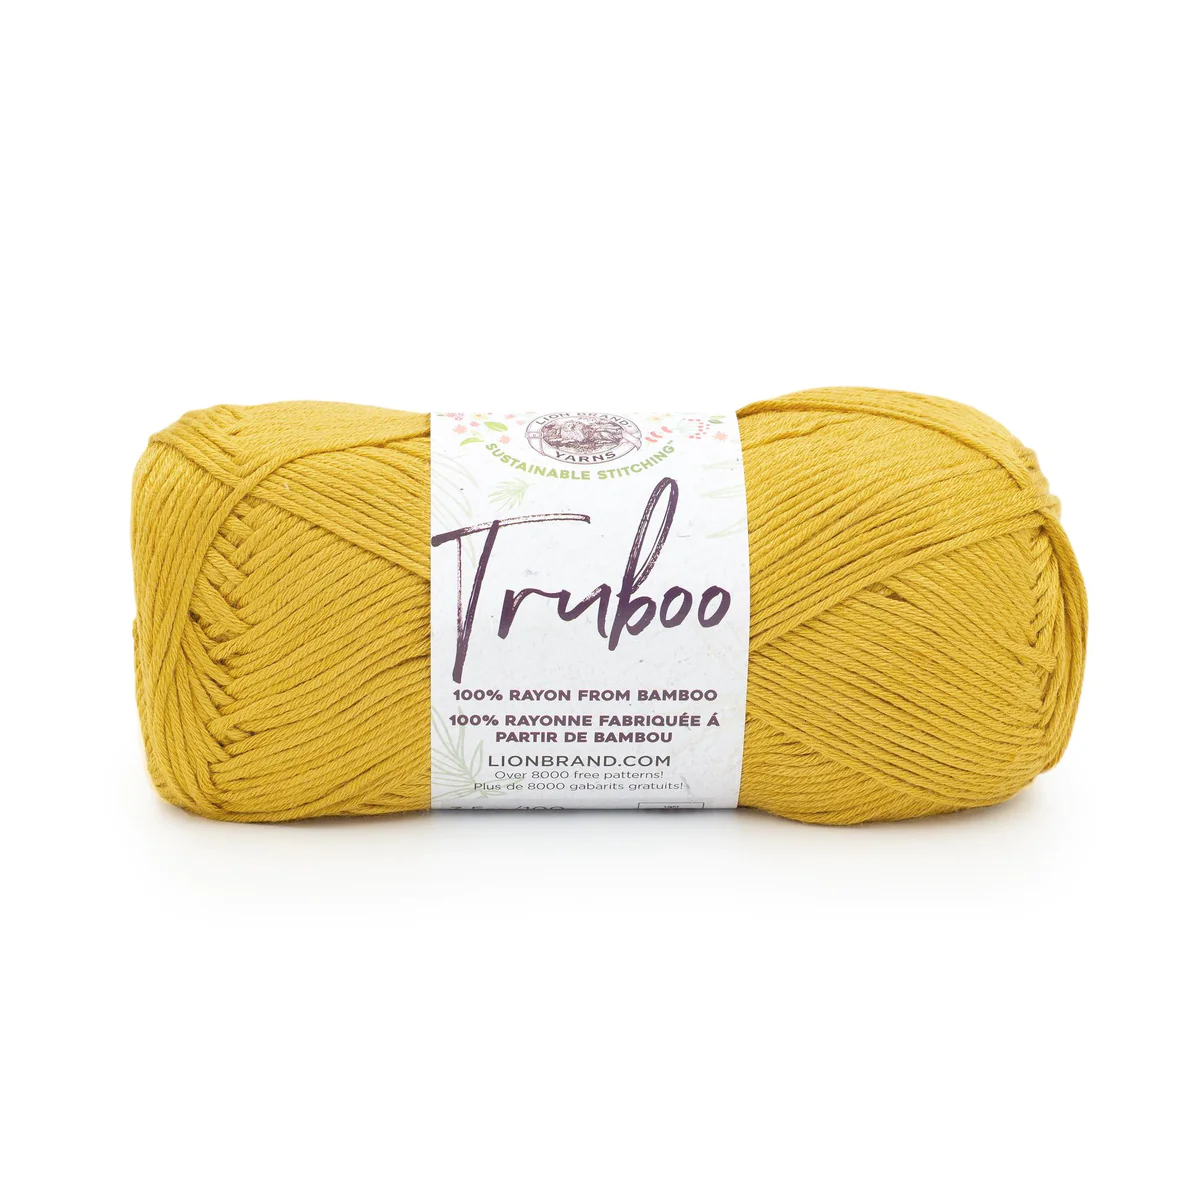
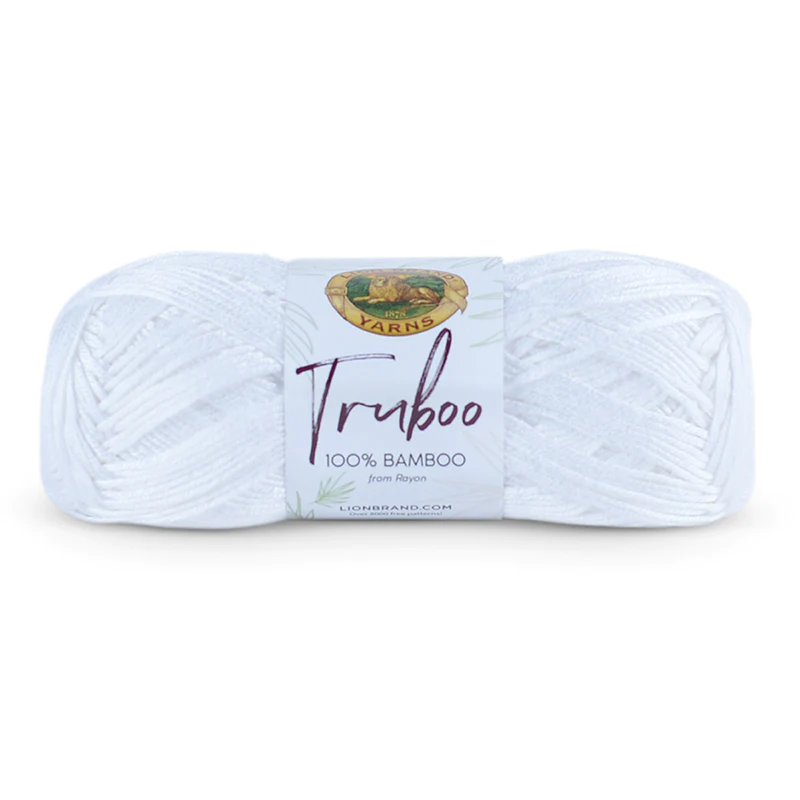
This project is worked with Truboo (Lion Brand) - DK weight yarn, 100% rayon from bamboo, made that perfect for those who love working with natural fibers.
***You can purchase a downloadable AD-FREE PDF of the pattern: 7 pages with more than
30 step-by-step pictures,
and tips to guide you through the making process
Here is the FREE pattern
EASY
SIZE
About 6 ½ in. (18 cm) tall.
MATERIALS
· Lion Brand® TRUBOO® (Art. #837)
#100 White 1 ball (A)
#178X Maize 1 ball (B)
ADDITIONAL MATERIALS
Crochet hook size 3 mm
Black Embroidery Floss
Embroidery Needle
Poly Filling
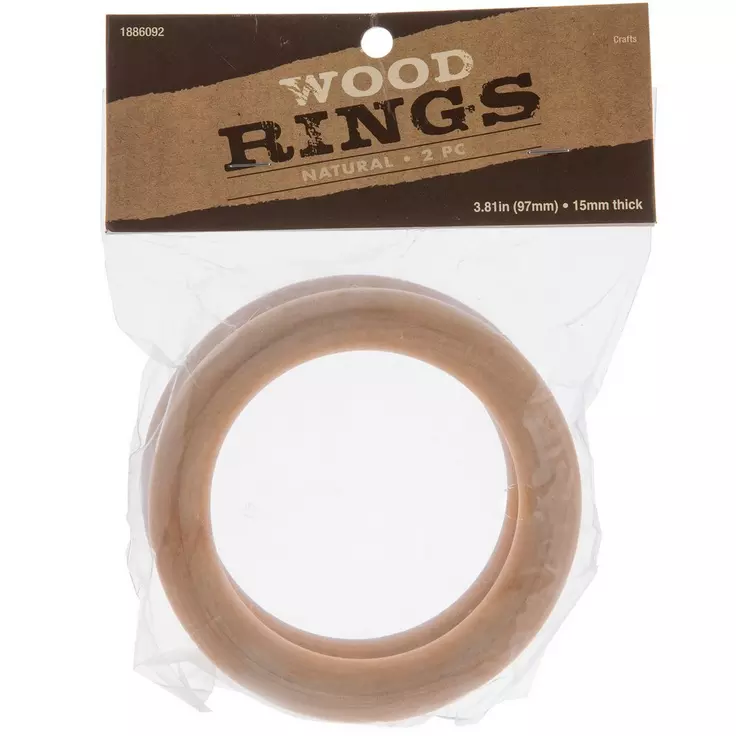
Wooden Ring (2.85 inches diameter - 10 mm thick)
GAUGE
8 sc + 8 rnds = about 1 in. (2.54 cm).
ABBREVIATIONS
ch = chain
rep = repeat
rnd(s) = round(s)
sc = single crochet
sl st = slip stitch
st(s) = stitch(es)
Disclosure. Most blog posts on this website contain affiliate links. This means I get a small commission if you click-through & purchase (no additional cost to you).
RING ATTACHMENT
With A
Row 1: Ch 14, sc into the 2nd ch from the hook, 1 sc in next 12 chs – 13; Turn
Row 2: 1 sc in each st along – 13 sc; Turn
Rows 3 - 66: 1 sc in each st along – 13 sc.
Fasten off, leaving a long strand for sewing panel around wooden ring.
HEAD
Rnd 1: 8 sc in a magic ring – 8 sc.
Rnd 2: 2 sc in each st around – 16 sc.
Rnd 3: * sc in next st, 2 sc in next st; rep from * around – 24 sc.
Rnd 4: * sc in next 2 st, 2 sc in next st; rep from * around – 32 sc.
Rnd 5: * sc in next 3 st, 2 sc in next st; rep from * around – 40 sc.
Rnd 6 - 8: Sc in each st around – 40 sc.
Rnd 9: * sc in next 4 st, 2 sc in next st; rep from * around – 48 sc.
Rnd 10 - 15: 1 sc in each st around – 48 sc.
Rnd 16: * sc in next 4 st, sc2tog; rep from * around – 40 sc.
Rnd 17: Sc in each st around – 40 sc.
Rnd 18: * sc in next 3 st, sc2tog; rep from * around – 32 sc.
Rnd 19: * sc in next 2 st, sc2tog; rep from * around – 24 sc.
Rnd 20: * sc in next 1 st, sc2tog; rep from * around – 16 sc.
Rnd 21: Working in front loop, sc in each st around – 16 sc.
Rnds 22 - 25: Working in both loops, sc in each st around – 16 sc.
Fasten off and leave a long tail for sewing Head to ring Attachment.
BEAK
Rnd 1: Ch 5, 2 sc in 2nd ch from the hook, sc in next 2 sts, 4 sc in next st; keep working on the opposite side of the foundation chain, sc in next 2 sts, 2 sc in next st – 12 sc.
Rnd 2: sc in next 2 sts, 2 sc in next st; rep from around – 16 sc.
Rnds 3 - 5: sc in each st around – 16 sc.
Fasten off and leave a long tail for sewing Beak to ring Head. Stuff Beak.
With B, sew Beak to Head between Rnds 12 and 17.
WINGS (MAKE two)
With A.
Rnd 1: 8 sc in a magic ring – 8 sc.
Rnd 2: * sc in next 3 sts, 2 sc in next st; rep from twice – 10 sc.
Rnd 3: * 1 sc in next 4 sts, 2 sc in next st; rep from * twice – 12 sc.
Rnd 4: * 1 sc in next 5 sts, 2 sc in next st; rep from * twice – 14 sc.
Rnd 5: * 1 sc in next 6 sts, 2 sc in next st; rep from * twice – 16 sc.
Rnd 6: * 1 sc in next 7 sts, 2 sc in next st; rep from * twice – 18 sc.
Rnd 7: * 1 sc in next 8 sts, 2 sc in next st; rep from * twice – 20 sc.
Rnd 8: * 1 sc in next 9 sts, 2 sc in next st; rep from * twice – 22 sc.
Rnd 9: * 1 sc in next 10 sts, 2 sc in next st; rep from * twice – 24 sc.
Rnds 10 - 15: sc in each st around – 24 sc.
Rnd 16: * 1 sc in next 2 sts, sc2tog; rep from * around – 18 sc.
Rnd 17: sc in each st around – 18 sc.
Rnd 18: * 1 sc in next st, sc2tog; rep from * around – 12 sc.
Fasten off and leave a long tail to sew the Wings to the Ring Attachment.
TAIL
With A.
Rnd 1: 8 sc in a magic ring – 8 sc.
Rnd 2: * sc in next 3 sts, 2 sc in next st; rep from * twice – 10 sc.
Rnd 3: * sc in next 4 sts, 2 sc in next st; rep from * twice – 12 sc.
Rnd 4: * sc in next 2 sts, 2 sc in next st; rep from * around – 16 sc.
Rnd 5: * sc in next 3 sts, 2 sc in next st; rep from * around – 20 sc.
Rnd 6: sc in each st around – 20 sc.
Fasten off and leave a long tail. Stuff the Tail.
FEET (make two)
With B.
Rnd 1: Ch 6, 2 sc in the 2nd ch from the hook, sc in next 3 chs, 4 sc in last ch, keep working on the opposite side of foundation chain, 1 sc in next 3 chs, 2 sc in last ch – 14 sc.
Rnds 2 - 3: sc in each st around – 14 sc.
Rnd 4: * 1 sc in next 5 sts, sc2tog; rep from * twice – 12 sc.
Rnd 5: sc in each st around – 12 sc.
Rnd 6: * 1 sc in next 4 sts, sc2tog; rep from * twice – 10 sc.
Fasten off and leave a long tail to sew the Wings to the Ring Attachment.
With black floss, embroider Eyes between Rnds 10 and 12.
I can't wait to see your version of the DUCK TEETHING RING! Feel free to tag me (@elisascrochet) in your photos on Instagram or Facebook!
Elisa
This pattern is an original pattern by Elisa Sartori of Elisa's Crochet. Please do not claim this pattern as your own. If you wish to share this pattern, you may link to this pattern but please do not reprint it on your site. You may keep a copy for your own personal use but please DO NOT sell the pattern or distribute it.
You may sell products made from this pattern but please clearly credit the design to me, Elisa Sartori of Elisa's Crochet. Permission is NOT granted for mass production or factory manufacturing of any kind. Thank you!


That is really attention-grabbing, You’re a very professional blogger.I’ve joined your feed and sit up for in quest of more of your wonderful post.Additionally, I have shared your site in my social networks
شيخ روحاني في برلين 00491634511222
شيخ روحاني
رقم شيخ روحاني
شيخ روحاني في برلين 00491634511222
Berlinintim
bestbacklinks
backlinkservices
buybacklink
BERLINintim
شيخ روحاني شيخ روحاني شيخ روحاني سعودي جلب الحبيب جلب الحبيب جلب الحبيب شيخ روحاني مضمون جلب الحبيب Berlinintim casinoberlinBerlinintimجلب الحبيب جلب الحبيب جلب الحبيب جلب الحبيب جلب الحبيب جلب الحبيب جلب الحبيب جلب الحبيب جلب الحبيب جلب الحبيبجلب الحبيبجلب الحبيب جلب الحبيب جلب الحبيب جلب الحبيب. ايات لجلب الحبيب العنيد . عظم الهدهد سريع الجلب للنساء . السحر المغربي لجلب الحبيب بالصورة . سورة الهمزة لجلب الحبيب .جلب الحبيب مجرب وصحيح . جلب الحبيب…
Just check out the "scrolled" lugs on the above pink-gold 1947 Patek Philippe link ref. 1491! The indirect center seconds movement inside is the technical cherry on top. It's lot 2015 and has an estimate of 80,000 - 120,000 HKD, or approximately link $10,198 - $15,297 link USD, which after typing out six- and seven-figure price tags over the past 2,000+ words feels like an absolute steal.
paladin mining…
paladin mining…
savvy mining…
crypto mining…
cesur mining…
six mining…
advanced miners…
stainless steel…
Stainless Steel…
蜘蛛池搭建 蜘蛛池搭建
paladin mining…
paladin mining…
savvy mining…
crypto mining…
cesur mining…
six mining…
advanced miners…
stainless steel…
Stainless Steel…
蜘蛛池搭建 蜘蛛池搭建
paladin mining…
paladin mining…
savvy mining…
crypto mining…
cesur mining…
six mining…
advanced miners…
stainless steel…
Stainless Steel…
蜘蛛池搭建 蜘蛛池搭建