Inuit Girl Free Crochet Pattern - Part 1
- Elisa
- Jan 7
- 5 min read
Updated: Jan 13
✨ Happy New Year, everyone! ✨
I hope 2025 is off to a wonderful start for all of you.
May this year bring joy, creativity, and plenty of time for the things you love most — like making beautiful handmade creations!
Thank you for being part of this amazing community.
Here’s to another year of crafting together!
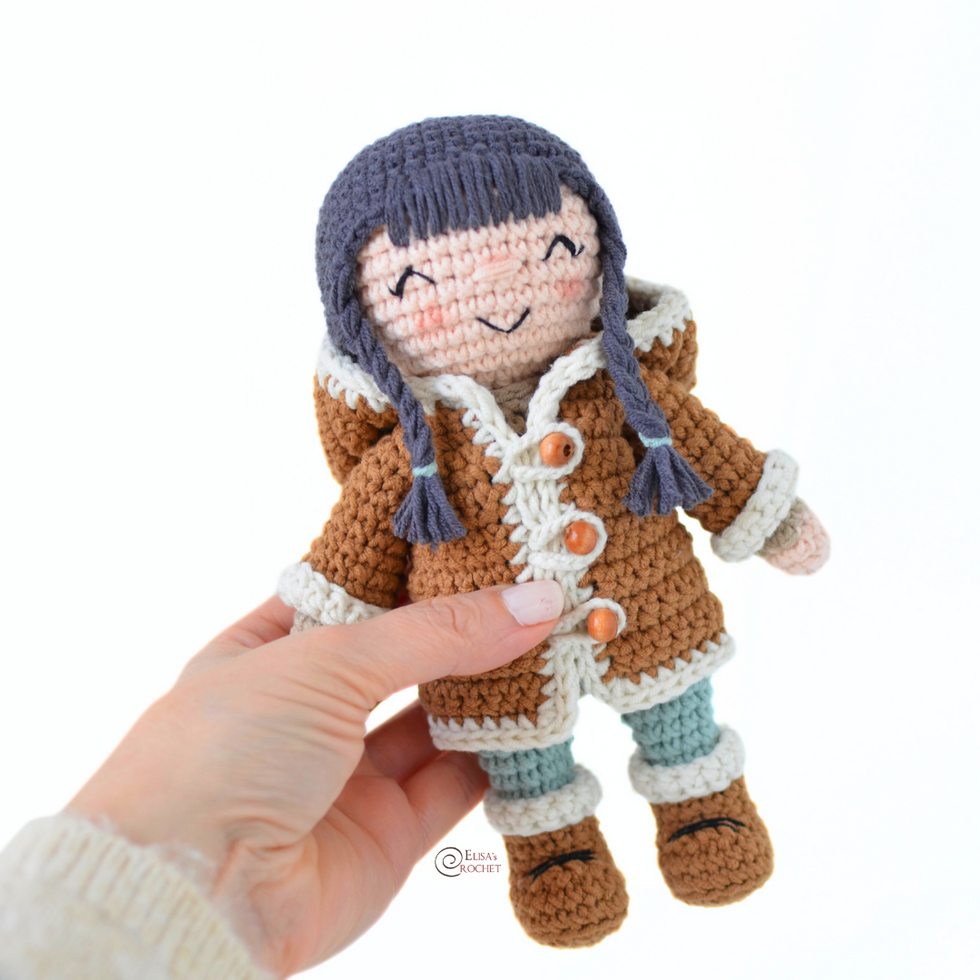
As the snow falls and the days grow colder, it's the perfect time to cozy up with a heartwarming crochet project. This year, I’m excited to share something truly special — a free pattern for creating this charming Inuit Girl!
But here’s the twist: we’re taking it step by step. Each week, I’ll release a part of the instructions, so we can crochet her together, piece by piece.
Think of it as a fun, crafty journey to brighten up the winter season!
This project is perfect for crocheters of all levels. Whether you’re a seasoned pro or just starting, you’ll love seeing this sweet little figure come to life with every new detail.
So grab your hooks, pick out your favorite yarn, and get ready to join the adventure! Let's start with the first part of the pattern, and don’t forget to share your progress along the way — I can’t wait to see your creations!
If you’re looking for an even more detailed experience, I’ve got you covered!
A super detailed pattern with over 80 step-by-step images, plus instructions to crochet her adorable little seal companion, is available in my Etsy store.
***You can purchase a downloadable AD-FREE PDF of the patterns with 14 pages, more than
80 step-by-step pictures,
and tips to guide you through the making process
Here is the FREE Crochet Pattern!
YARN
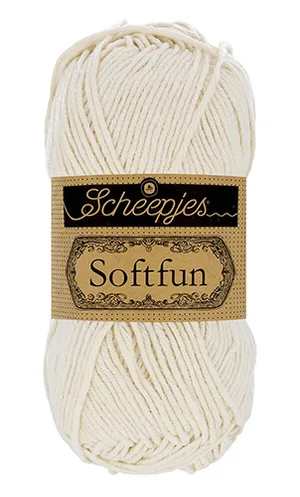
Scheepjes SOFTFUN 10x50 g
#2625 Sea Mist 1 ball (A)
#2631 Cedar 1 ball (B)
#2466 Peach 1 ball (C)
#2601 Graphite 1 ball (D)
#2633 Tawny 1 ball (E)
#2622 Latte 1 ball (F)
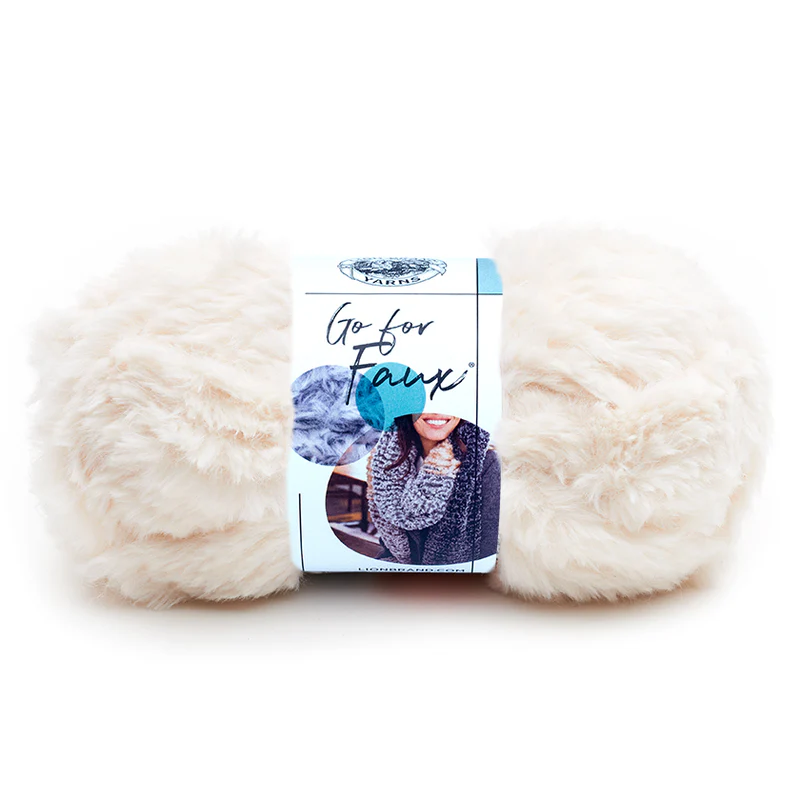
Bulky furry yarn in white (G)
MATERIALS
Crochet Hooks: 3.5 mm
Yarn Needle
Polyester Filling
Black embroidery thread
3 wooden beads
DIMENSIONS
Eskimo Girl 8 in. (20 cm) tall.
ABBREVIATIONS
ch = chain
rep = repeat
rnd(s) = round(s)
sc = single crochet
hdc = half double crochet
sl st = slip stitch
st(s) = stitch(es)
SKILL LEVEL
Easy
GAUGE
24 sc + 24 rnds = about 4 in. (10 cm).
Disclosure. Most blog posts on this website contain affiliate links. This means I get a small commission if you click-through & purchase (no additional cost to you).
Legs, Body and Head
Leg I
With A make a magic ring.
Rnd 1: Work 8 sc in ring.
Rnd 2: Ch 1, (sc in next 3 sts, 2 sc in next st) rep twice [10]
Rnds 3 - 7: Ch 1, sc in each st around [10]
Rnd 8: Ch 1, (sc in next 4 sts, 2 sc in next st) rep twice [12]
Rnd 9: Ch 1, sc in each st around [12]
Rnd 10: Ch 1, (sc in next 5 sts, 2 sc in next st) rep twice [14]
Rnd 11: Ch 1, sc in each st around [14]
Fasten off and cut the yarn.
Leg II
With A make a magic ring.
Rnd 1: Work 8 sc in ring.
Rnd 2: Ch 1, (sc in next 3 sts, 2 sc in next st) rep twice [10]
Rnds 3 - 7: Ch 1, sc in each st around [10]
Rnd 8: Ch 1, (sc in next 4 sts, 2 sc in next st) rep twice [12]
Rnd 9: Ch 1, sc in each st around [12]
Rnd 10: Ch 1, (sc in next 5 sts, 2 sc in next st) rep twice [14]
Rnd 11: Ch 1, sc in each st around [14]
Do not cut the yarn, instead ch 2.
Join the Legs
Rnd 12: With the yarn still on your hook, insert this last one into the 1st st of the last Rnd of Leg I; grab the yarn and work a sl st, then ch 1; work 1 sc into this very first st, and 1 sc in each of the next 13 sts; (keep working on the chains) 1 sc in each of the next 2 chs; (continue working on Leg II) insert the hook into the 1st st of the last Rnd of Leg II, work 1 sc, then work 1 sc in each of the next 13 sts; (keep working on the chains) 1 sc in each of the next 2 chs [32]
Rnds 13 - 15: Ch 1, sc in each st around [32]
Rnd 16: With B, ch 1, sc in each st around [32]
Rnd 17: Ch 1, sc in each st around [32]
Rnd 18: Ch 1, (sc in next 6 sts, sc2tog) rep around [28]
Rnd 19: Ch 1, sc in each st around [28]
Rnd 20: Ch 1, (sc in next 5 sts, sc2tog) rep around [24]
Begin stuffing and continue until piece is complete.
Rnds 21 - 23: Ch 1, sc in each st around [24]
Rnd 24: Ch 1, (sc in next st, sc2tog) rep around [16]
Rnd 25: Ch 1, (sc in next 2 sts, sc2tog) rep around [12]
Rnd 26: Ch 1, working in front loop only, sl st in each st around [12] (pics. 14)
Fasten off B.
Rnd 27: Working in back loop of Rnd 25, join C and work 1 sc in each st around [12]
Rnd 28: Ch 1, 2 sc in each st around [24]
Rnd 29: Ch 1, (sc in next 2 sts, 2 sc in next st) rep from * around [32]
Rnd 30: Ch 1, (sc in next 3 sts, 2 sc in next st) rep from * around [40]
Rnds 31 - 38: Ch 1, sc in each st around [40]
Rnd 39: Ch 1, (sc in next 3 sts, sc2tog) rep around [32]
Rnd 40: Ch 1, (sc in next 2 sts, sc2tog) rep around [24]
Rnd 41: Ch 1, (sc in next 2 sts, sc2tog) rep around [18]
Rnd 42: Ch 1, (sc in next st, sc2tog) rep around [12]
Rnd 43: Ch 1, sc2tog around [6]
Fasten off, leaving a long tail. Thread tail through top of sts of last rnd. Pull tail to close opening and knot securely.
Embroider EYES with black thread, between Rnds 33 and 35, 6 sts apart.
Embroider MOUTH with black thread, between Rnds 30 and 32.
Embroider NOSE with C yarn, between Rnd 33 and 34.
Arms
With C make a magic ring.
Rnd 1: Work 8 sc in ring.
Rnd 2: Ch 1, (sc in next 3 sts, 2 sc in next st) rep twice [10]
Rnd 3: Ch 1, sc in each st around [10]
Rnd 4: With B, ch 1, sc in each st around [10]
Rnds 5 - 14: Ch 1, sc in each st around [10]
Stuff Arm lightly.
Flatten the last Rnd and work through both layers, sc2tog, sc in next st, sc2tog – 3 sc.
Fasten off and leave a long strand of yarn to sew the Arms to the side of Body, between Rnds 24 and 25.
I can't wait to see your version of my INUIT GIRL Feel free to tag me (@elisascrochet) in your photos on Instagram or Facebook!
Elisa
This pattern is an original pattern by Elisa Sartori of Elisa's Crochet. Please do not claim this pattern as your own. If you wish to share this pattern, you may link to this pattern but please do not reprint it on your site. You may keep a copy for your own personal use but please DO NOT sell the pattern or distribute it.
You may sell products made from this pattern but please clearly credit the design to me, Elisa Sartori of Elisa's Crochet. Permission is NOT granted for mass production or factory manufacturing of any kind. Thank you!


b
https://diskominfo.cilegon.go.id/
https://www.sindhttb.gov.pk/
https://swanfpqs.usim.edu.my/
https://salam.usim.edu.my/
https://thelobbyist.news/
https://activedigital.id/
https://informazioneriservata.eu/
https://mediaintelligence.cloud/
Nursing assignment help.
Best research paper.
Pay someone to take my online class.