Mushroom House Free Crochet Pattern
- Elisa
- Aug 8, 2023
- 5 min read
Happy Tuesday my friends!
It's not hard to bring some magic into your kids' life...like with this sweet amigurumi Mushroom House! A world of fairies and gnomes will open up before their eyes!
Crochet this adorable amigurumi with your favorite colors and create something special for your little one!
The Mushroom House is a super easy project suitable for beginners.
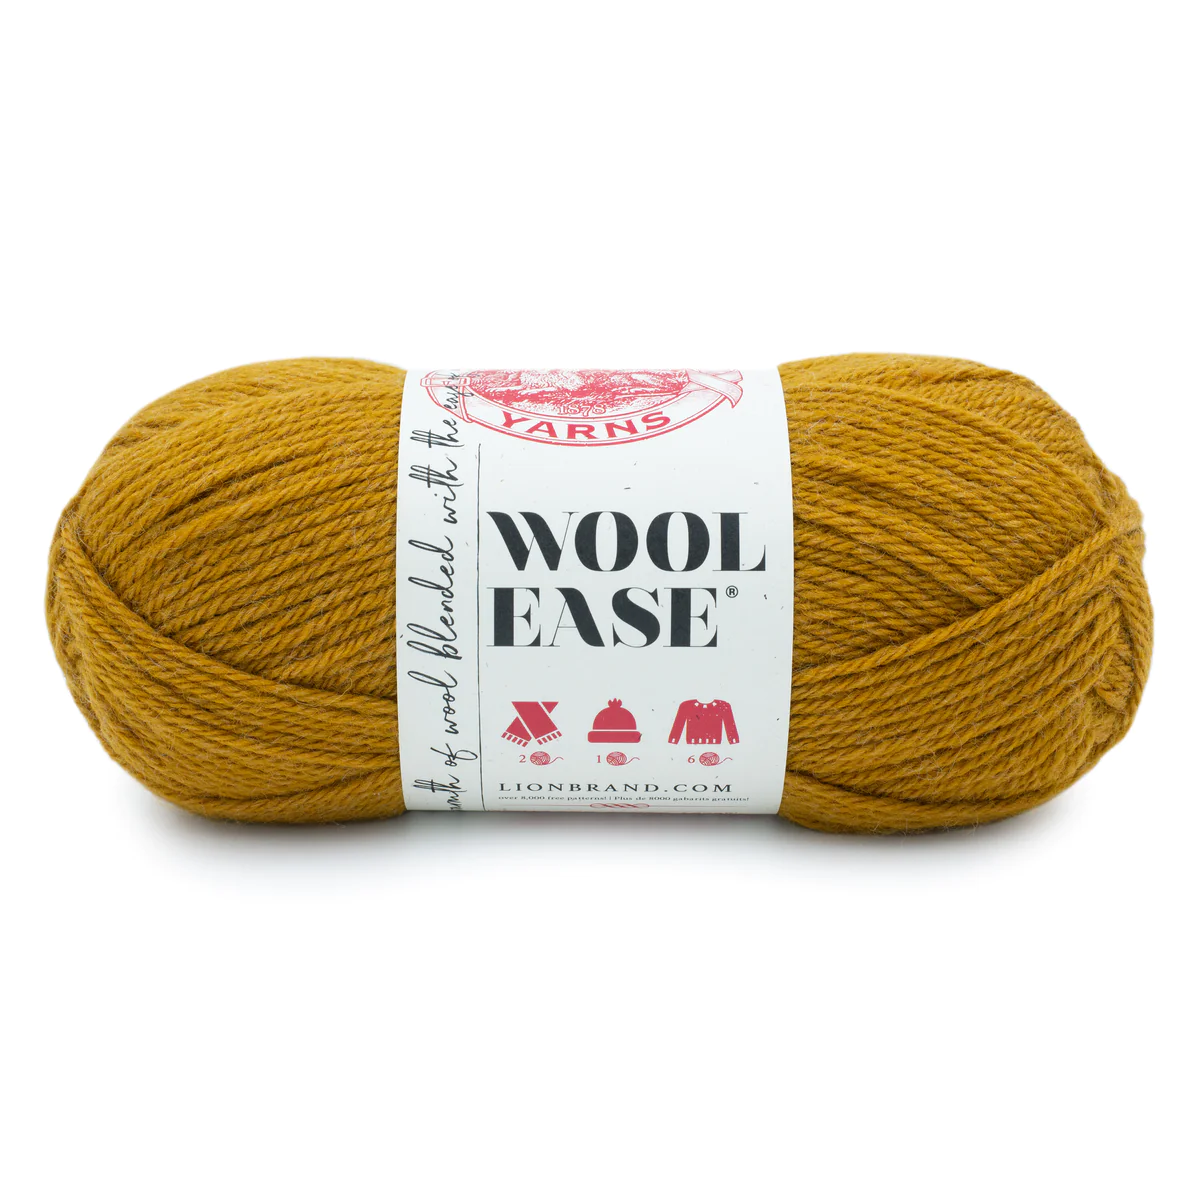
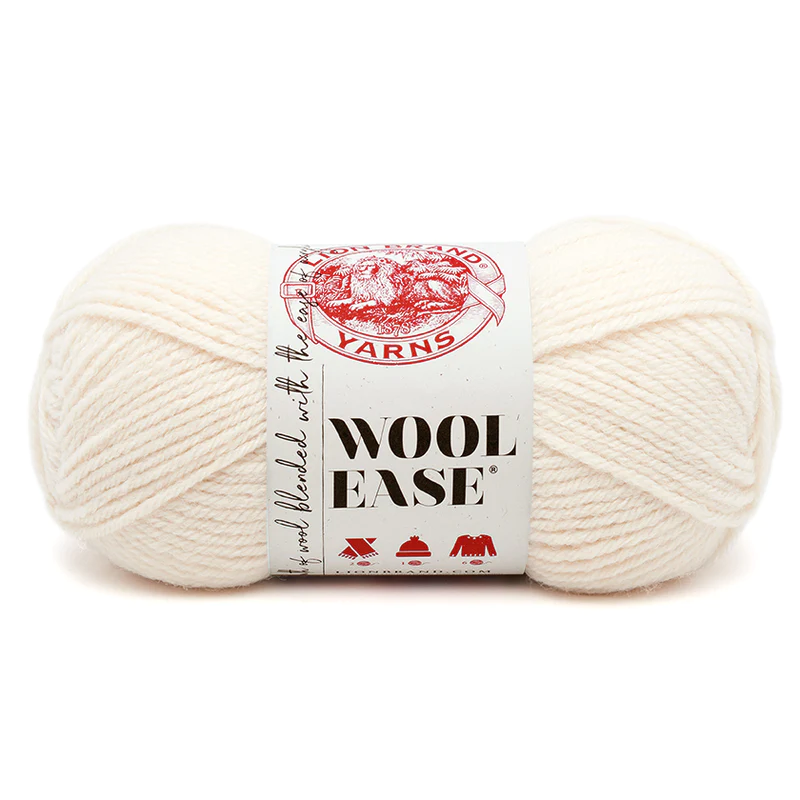
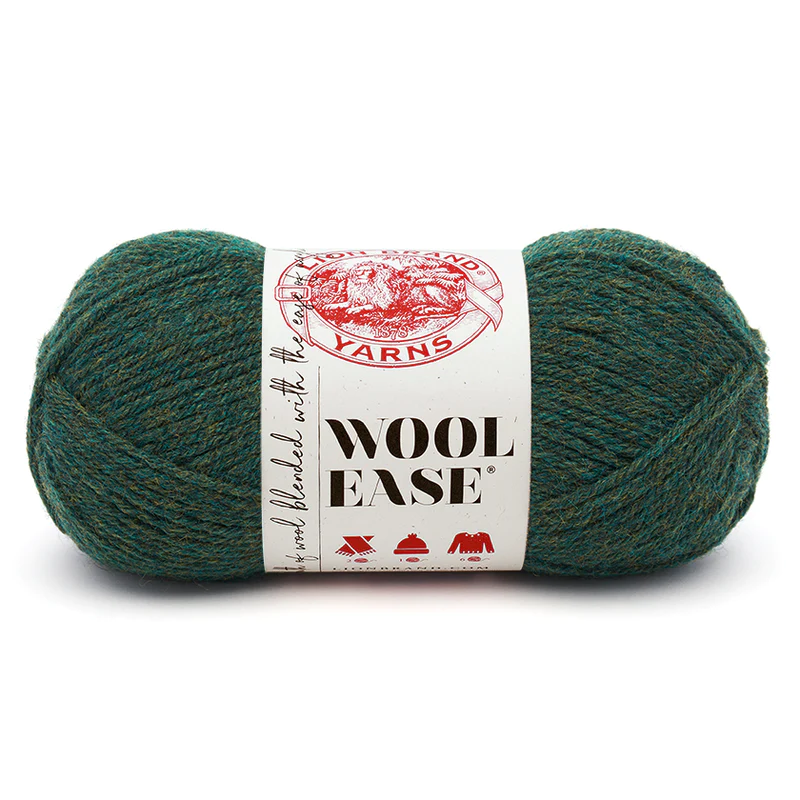
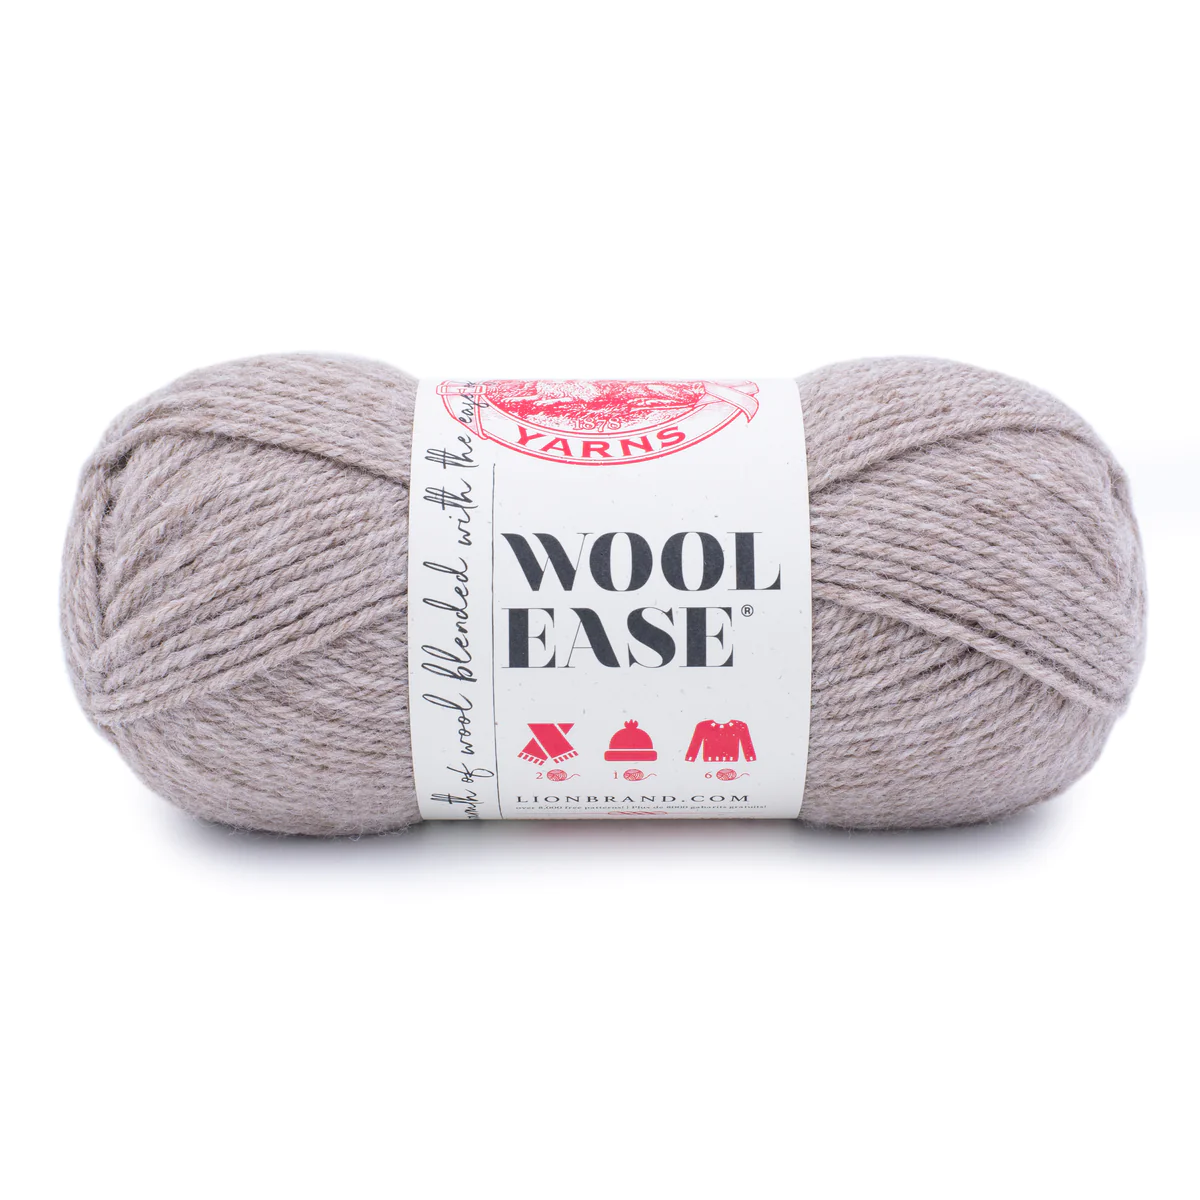
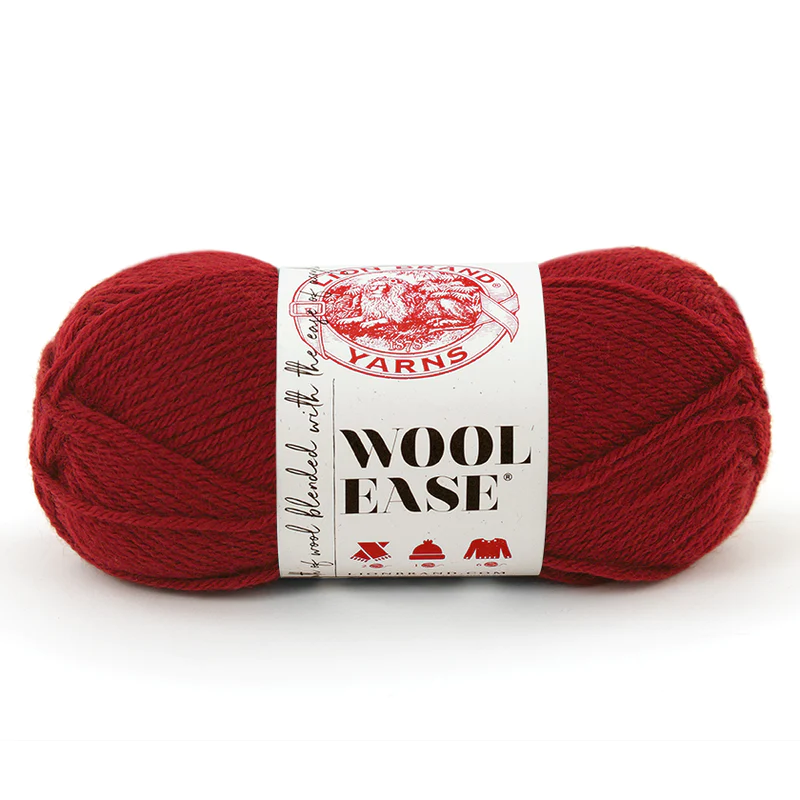
The Mushroom House is made with Wool Ease® yarn by LION BRAND YARN!
Warm and soft, this wool yarn is gorgeous. It comes in more than 30 different colors to choose from!
***You can purchase a downloadable AD-FREE PDF of the pattern with more than 40
step-by-step pictures, schematics and tips to guide you through the making process
Here is the FREE Crochet Pattern!
BEGINNER
SIZE
About 7 in. tall (18 cm)
YARN
· Lion Brand® WOOL EASE® (Art. #620)
#138 Cranberry 1 ball (A)
#099 Fisherman 1 ball (B)
#024A Oatmeal 1 ball (C)
#180 Forest Green Heater 1 ball (D)
#087 Arrowwood 1 ball (E)
OTHER MATERIALS
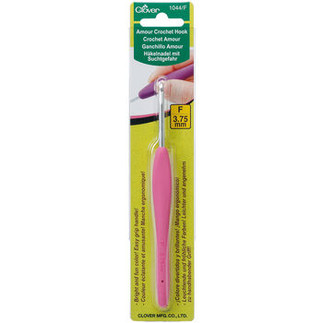
Crochet Hook Size F (3.75 mm)
Yarn Needle
Poly Filling
GAUGE
20 sc + 20 rows = about 4 in. (10 cm).
ABBREVIATIONS
beg = begin(ninig)
ch = chain
rep = repeat
rnd(s) = round(s)
sc = single crochet
hdc = half double crochet
dc= double crochet
sl st = slip stitch
st(s) = stitch(es)
Disclosure. Most blog posts on this website contain affiliate links. This means I get a small commission if you click-through & purchase (no additional cost to you).
Mushroom
With A make a magic ring.
Rnd 1: work 8 sc in ring.
Rnd 2: 2 sc in each st around – 16 sc.
Rnd 3: * sc in next st, 2 sc in next st; rep from * around – 24 sc.
Rnds 4 - 5:sc in each st around – 24 sc.
Rnd 6: * sc in next 2 sts, 2 sc in next st; rep from * around – 32 sc.
Rnds 7 - 8: sc in each st around – 32 sc.
Rnd 9: * sc in next 7 sts, 2 sc in next st; rep from * around – 36 sc.
Rnd 10: sc in each st around – 36 sc.
Rnd 11: * sc in next 8 sts, 2 sc in next st; rep from * around – 40 sc.
Rnds 12 - 13: sc in each st around – 40 sc.
Rnd 14: * sc in next 4 sts, 2 sc in next st; rep from * around – 48 sc.
Rnd 15: sc in each st around – 48 sc.
Rnd 16: * sc in next 5 sts, 2 sc in next st; rep from * around – 56 sc.
Rnd 17: sc in each st around – 56 sc.
Rnd 18: * sc in next 6 sts, 2 sc in next st; rep from * around – 64 sc.
Rnd 19: sc in each st around – 64 sc.
Rnd 20: * sc in next 7 sts, 2 sc in next st; rep from * around – 72 sc.
Rnd 21: * sc in next 8 sts, 2 sc in next st; rep from * around – 80 sc.
Rnd 22: sc in each st around – 80 sc; Turn.
Rnd 23: working in front loop, hdc in each st around – 80 sc; Turn.
Rnd 24: With B, work in back loop, * sc in next 6 sts, sc2tog; rep from * around – 70 sc.
Rnd 25: * sc in next 5 sts, sc2tog; rep from * around – 60 sc.
Rnd 26: * sc in next 4 sts, sc2tog; rep from * around – 50 sc.
Rnd 27: * sc in next 3 sts, sc2tog; rep from * around – 40 sc.
Begin stuffing. Continue stuffing until piece is complete.
Rnd 28: * sc in next 2 sts, sc2tog; rep from * around – 30 sc.
Rnd 29: * sc in next 3 sts, sc2tog; rep from * around – 24 sc.
Rnd 30: working in front loop, sc in each st around – 24 sc.
Rnds 31 - 33: sc in each st around – 24 sc.
Rnd 34: * sc in next 5 sts, 2 sc in next st; rep from * around – 28 sc.
Rnds 35 - 37: sc in each st around – 28 sc.
Rnd 38: * sc in next 6 sts, 2 sc in next st; rep from * around – 32 sc.
Rnd 39: * sc in next 7 sts, 2 sc in next st; rep from * twice, 1 sc into the next st; with C, 1 sc in the next 5 sts, with B, 1 sc into the next st, 2 sc into the next st, sc in next 7 sts, 2 sc in next st – 36 sc.
Rnd 40: With B, 1 sc into the next 19 sts; with C, 1 sc in the next 5 sts, with B, 1 sc into the next 12 sts – 36 sc.
Rnd 41: With B, * sc in next 8 sts, 2 sc in next st; rep from * twice, 1 sc into the next st; with C, 1 sc in the next 5 sts, with B, 1 sc into the next 2 sts, 2 sc into the next st, sc in next 8 sts, 2 sc in next st – 40 sc.
Rnd 42: With B, 1 sc into the next 21 sts; with C, 1 sc in the next 5 sts, with B, 1 sc into the next 14 sts – 40 sc.
Rnd 43: With B, * sc in next 8 sts, sc2tog; rep from * around – 36 sc.
Rnd 44: working in back loop, * sc in next st, sc2tog; rep from * around – 24 sc.
Rnd 45: * sc in next 2 sts, sc2tog; rep from * around – 18 sc.
Rnd 46: sc2tog around – 9 sc.
Fasten off, leaving a long tail. Thread tail through top of sts of last rnd. Pull tail to close opening and knot securely.
Chimney
With A make a magic ring.
Rnd 1: work 6 sc in ring.
Rnd 2: 2 sc in each st around – 12 sc.
Rnd 3: working in back loop, * sc in next 1 st, sc2tog; rep from * around – 8 sc.
Rnd 4: 1 hdc in the next 4 sts, 1 sl st in the next 4 sts – 8 sts.
Rnd 5: 1 hdc in the next 4 sts, 1 sl st in the next 4 sts – 8 sts.
Rnd 6: sc in each st around – 8 sc.
Fasten off leaving a long tail for sewing Chimney to Mushroom’s Cap.
Stuff the Chimney.
Dots
Large
With B make a magic ring.
Rnd 1: work 6 sc in ring.
Rnd 2: 2 sc in each st around – 12 sc.
Fasten off leaving a long tail for sewing Dots to Mushroom’s Cap.
Medium
With B make a magic ring.
Rnd 1: work 9 sc in ring.
Fasten off leaving a long tail for sewing Dots to Mushroom’s Cap.
Small
With B make a magic ring.
Rnd 1: work 6 sc in ring.
Fasten off leaving a long tail for sewing Dots to Mushroom’s Cap.
BAse
With D
Rnd 1: facing the bottom of Mushroom, insert hook into the front loop of any st of Rnd 43, ch1 * sc in the next 2 sts, 2 sc into the next st; rep from * around – 48 sc.
Rnds 2 - 3: sc in each st around – 48 sc.
Fasten off.
Finishing
With C, embroider Gills by sewing long lines on the flat section underneath the Cap, between Rnds 24 and 30.
With C embroider the sides of the door.
With E embroider the Doorknob.
With A, sew Chimney to Mushroom’s Cap between Rnds 14 and 17.
Pull some Poly Filling from the center of the magic ring of the Chimney to create the Smoke.
With B, sew the Dots on the Mushroom’s cap.
With D, embroider grass leaves on the side of the Mushroom’s Stalk.
I can't wait to see your version of my MUSHROOM HOUSE! Feel free to tag me (@elisascrochet) in your photos on Instagram or Facebook!
Elisa
This pattern is an original pattern by Elisa Sartori of Elisa's Crochet. Please do not claim this pattern as your own. If you wish to share this pattern, you may link to this pattern but please do not reprint it on your site. You may keep a copy for your own personal use but please DO NOT sell the pattern or distribute it.
You may sell products made from this pattern but please clearly credit the design to me, Elisa Sartori of Elisa's Crochet. Permission is NOT granted for mass production or factory manufacturing of any kind. Thank you!








More than 25 years later, it link remains highly influential, entirely part of the lexicon, and NOS examples sell for multiples of the original MSRP. If you're a child of the link '90s and reading link HODINKEE today, I'd wager that an SKX007 (or similar) is at least part of your origin story.
Mother's Day is right around the corner, and this oversized Tank would set her apart from the crowd. I always love a classic piece with a twist that adds a stylistic point of view of the wearer. Paired with our equally fresh Sedona Strap in Green, it will make link everyone around her green (and gold) with envy. Plus, how link awesome would it be to be able to say later, link "I borrowed it from my mom, isn't she so chic?" Make it hers right here.
AV在线看 AV在线看;
自拍流出 自拍流出;
国产视频 国产视频;
日本无码 日本无码;
动漫肉番 动漫肉番;
吃瓜专区 吃瓜专区;
SM调教 SM调教;
ASMR ASMR;
国产探花 国产探花;
强奸乱伦 强奸乱伦;
AV在线看 AV在线看;
自拍流出 自拍流出;
国产视频 国产视频;
日本无码 日本无码;
动漫肉番 动漫肉番;
吃瓜专区 吃瓜专区;
SM调教 SM调教;
ASMR ASMR;
国产探花 国产探花;
强奸乱伦 强奸乱伦;