Nautical Cushion Cover Free Crochet Pattern
- Elisa
- May 16, 2023
- 4 min read
Happy Tuesday my fellow crafters!
Summer is finally approaching and it's about time for all of us to make our home ready for it! A fresh cotton yarn in the typical nautical colors - blue and white - makes this pillow the perfect summer decoration for your bed or couch!
The front of the cushion cover is worked with the C2C crochet technique, while the back panels are worked with half double crochet stitches. A beautiful wooden button gives a nice final touch to this gorgeous project!
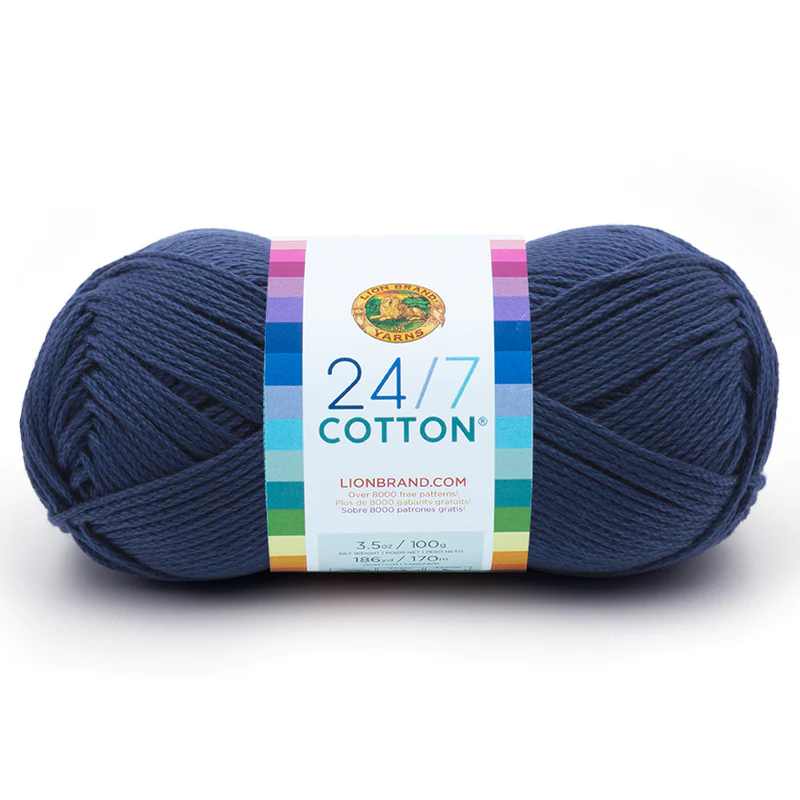
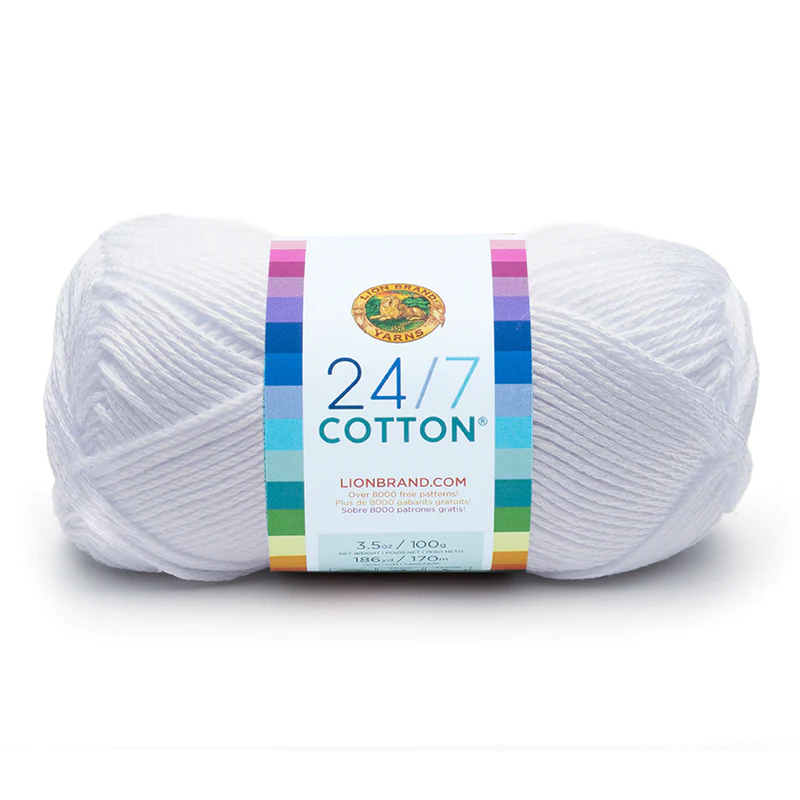
The Nautical Cushion Cover is made with 24/7 Cotton® yarn by LION BRAND YARN! This is a mercerized 100% natural fiber yarn - the incredible color variety and the beautiful sheer make this fiber just perfect to work accessories and home decor!
***You can purchase a downloadable AD-FREE PDF of the pattern with more than 60
Here is the Nautical Cushion Cover FREE pattern!
YARN:
Lion Brand® 24/7 COTTON® (Art. # 761)
#110 Navy 2 balls (A)
#100 White 2 balls (B)
ADDITIONAL MATERIALS:
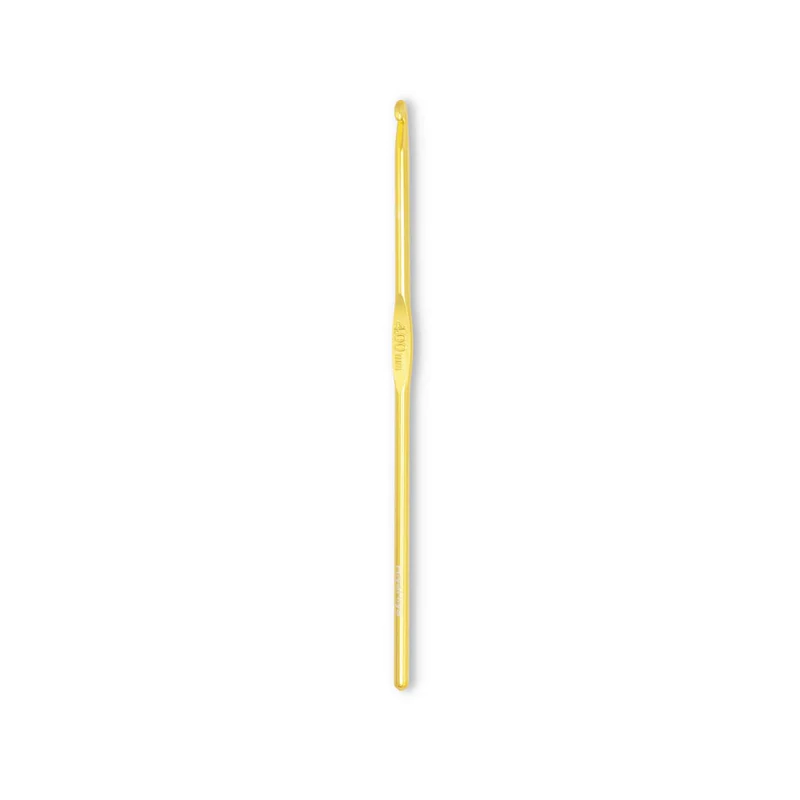
Lion Brand® crochet hook size F (3.75 mm); Wooden Button 7/8 in diameter
SIZE:
About 13 X 13 in. (33 x 33 cm)
ABBREVIATIONS:
beg = begin(ninig)
ch = chain
hdc = half double crochet
dc = double crochet
rep = repeat
rnd(s) = round(s)
sc = single crochet
sl st = slip stitch
st(s) = stitch(es)
sk = skip
SKILL LEVEL:
Intermediate
Disclosure. Most blog posts on this website contain affiliate links. This means I get a small commission if you click-through & purchase (no additional cost to you).
C2C TECHNIQUE EXPLANATIONS
Step 1:
Chain 6. Dc in the 4th chain from the hook. Dc in each of the two remaining chains. At this point, you’ll have a small block comprised of the ch-3 turning chain and 3 dc stitches.
Step 2:
Turn your work. Row 2 is a WS (wrong side) row and has two tiles. We’ll start Row 2 by increasing one tile. Chain 6. Dc in the 4th chain from the hook. Dc in each of the two remaining chains. This completes the first tile of the second row.
Now, we’ll need to join this tile to the first tile we made. Find the ch-3-space created by the turning-ch-3 on the first tile. Slip stitch into the ch-3-sp from the previous row.
Then, make the next tile. Chain 3. Make 3 dc into that same ch-3-sp.
Step 3:
Work Row 3 in the same way that you worked Row 2. Row 3 is a RS (right side) row and has 3 tiles. You’ll start by making a C2C increase.
DECREASING
First Decrease Row: Instead of chaining 6 to make a new tile, we’ll slip stitch across the last tile in the previous row. The slip stitches will move our yarn across the tile without adding height. Then, we’ll chain 3 and work the next tile.
Slip stitch in each dc across, and slipstitch into the ch-3-space.
Chain 3 and work 3 dc into the ch-3-sp of the previous row. (This completes the first tile of this row.)
Repeat this pattern across the row.

Nautical Cushion Cover Front Panel
With color A
Row 1: 1 A
Row 2: 2 A
Row 3: 3 B
Row 4: 4 B
Row 5: 5 A
Row 6: 6 A
Row 7: 7 B
Row 8: 8 B
Row 9: 9 A
Row 10: 10 A
Row 11: 11 B
Row 12: 12 B
Row 13: 13 A
Row 14: 14 A
Row 15: 15 B
Row 17: 17 A
Row 18: 18 A
Row 19: 19 B
Row 20: 20 B
Row 21: 21 A
Row 22: 22 A
– Start decreasing –
Row 23: 21 B
Row 24: 20 B
Row 25: 19 A
Row 26: 18 A
Row 27: 17 B
Row 28: 16 B
Row 29: 15 A
Row 30: 14 A
Row 31: 13 B
Row 32: 12 B
Row 33: 11 A
Row 34: 10 A
Row 35: 9 B
Row 36: 8 B
Row 37: 7 A
Row 38: 6 A
Row 39: 5 B
Row 40: 4 B
Row 41: 3 A
Row 42: 2 A
Row 43: 1 B
Fasten off color A.
Keep working with color B, sc even around the front panel. Work 3 sc in each corner st.
Nautical Cushion Cover Back Panel I
Row 1: work 56 chs, 1 hdc into the 2nd ch from the hook, 1 hdc in each of the next 54 sts – 55 hdc; Turn.
Row 2: Ch 1, 1 hdc in each st along – 55 hdc; Turn
Rows 3 - 21: rep Row 2 – 55 hdc
Fasten off and weave in end
Nautical Cushion Cover Back Panel II
Row 1: work 56 chs, 1 hdc into the 2nd ch from the hook, 1 hdc in each of the next 49 sts – 55 hdc; Turn.
Row 2: Ch 1, 1 hdc in each st along – 55 hdc; Turn
Rows 3 - 21: rep Row 2 – 55 hdc
Row 22: Ch 1, 1 hdc in each of the next 26 sts, 3 chs, skip the next 3 sts, work 1 hdc in the next one, work 1 hdc in each of the next 25 sts – 52 hdc, 3 chs
Do not fasten off.
Nautical Cushion Cover - Finishing
Assemble Cushion cover as follows:
Place Panel II on Panel I, so that the last 2 rows of Panel II overlap the first 2 rows of Panel I. With B, Sc all around the two panels, working 3 sc in each corner st. Work through both layers where the panels overlap.
Sew the Button to Panel I in line with the buttonhole (3 chs hole).
Place Front Panel on top of Back Panel. With B join the sides by crocheting a series of sl sts all around.
Weave in ends.
Insert the cushion inside the cover.
I can't wait to see your version of my NAUTICAL CUSHION COVER! Feel free to tag me (@elisascrochet) in your photos on Instagram or Facebook!
Elisa
This pattern is an original pattern by Elisa Sartori of Elisa's Crochet. Please do not claim this pattern as your own. If you wish to share this pattern, you may link to this pattern but please do not reprint it on your site. You may keep a copy for your own personal use but please DO NOT sell the pattern or distribute it.
You may sell products made from this pattern but please clearly credit the design to me, Elisa Sartori of Elisa's Crochet. Permission is NOT granted for mass production or factory manufacturing of any kind. Thank you!


Of Cartier's presence on Fifth Avenue, and its eventual significance for the great houses built there, the New York Times would write, nearly a century later in 2001, "As venerable link as the jewelry company is, its arrival at the corner link signified a bitter defeat for the mansion owners who link first built up the section, some of whom were Cartier clients. When the building (the Plant home) went up in 1905 it seemed like a fortress against the advent of shops and stores, but instead it became an Alamo."
With that in mind, I had to have one. And I didn't win link the raffle the first time (or the second, which got 22,000 entries). But link when I saw the press release for this new "Sprite"-esque color combination (one that's much more wearable than the bright red), the first thing I thought of was a quote from Jim Carrey in 1994's Dumb and link Dumber.
Welcome to Planet Clicker, the ultimate destination for fans of space exploration and idle gaming!
Tiny Fishing may appear to be a simple fishing game at first glance, but beneath its easy-to-understand mechanics lies a highly engaging and addictive experience.
Welcome to Funny Moment We bring you funny fails, epic bloopers, viral memes, and hilarious moments that will keep you entertained! If you love comedy videos