Thiago the Parrot Free Crochet Pattern
- Elisa
- Mar 21, 2023
- 10 min read
I know my friends, it's only Tuesday, and the way to the weekend seems still too long...
...but don't worry, I've designed something for you that I'm sure is going to brighten up your day - here's my cute THIAGO the PARROT!!
With its bright colors and his big smiling eyes, this crocheted Parrot is just too fun not to make, don't you think? No to mention the size of the finished amigurumi...just perfect for your kids to play with or just hug and cuddle!
Unlike most of the designs I share here on my blog, this project is most suitable for INTERMEDIATE crocheters. The Beak and the Feet sections especially are a bit more complex to make. So, if you are a new-by or feel visual help is needed, I strongly suggest you to head over my Etsy page to get the complete version of the pattern!!!
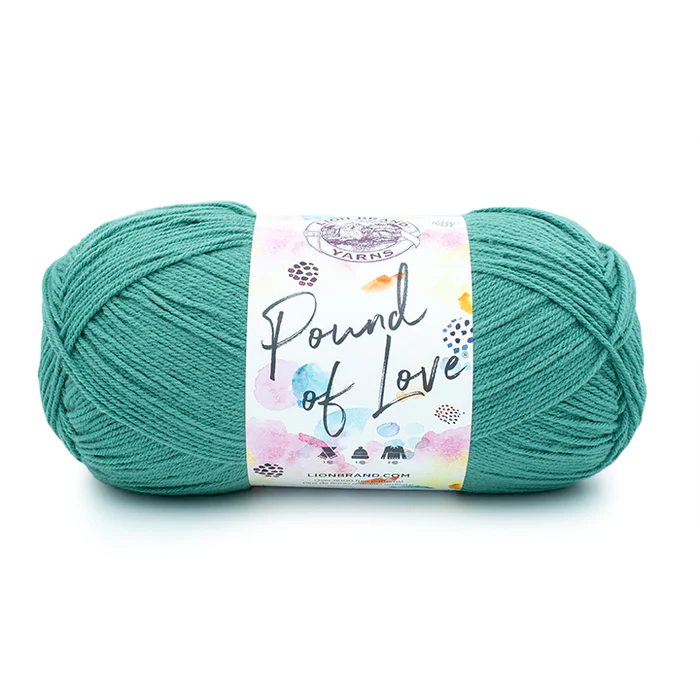
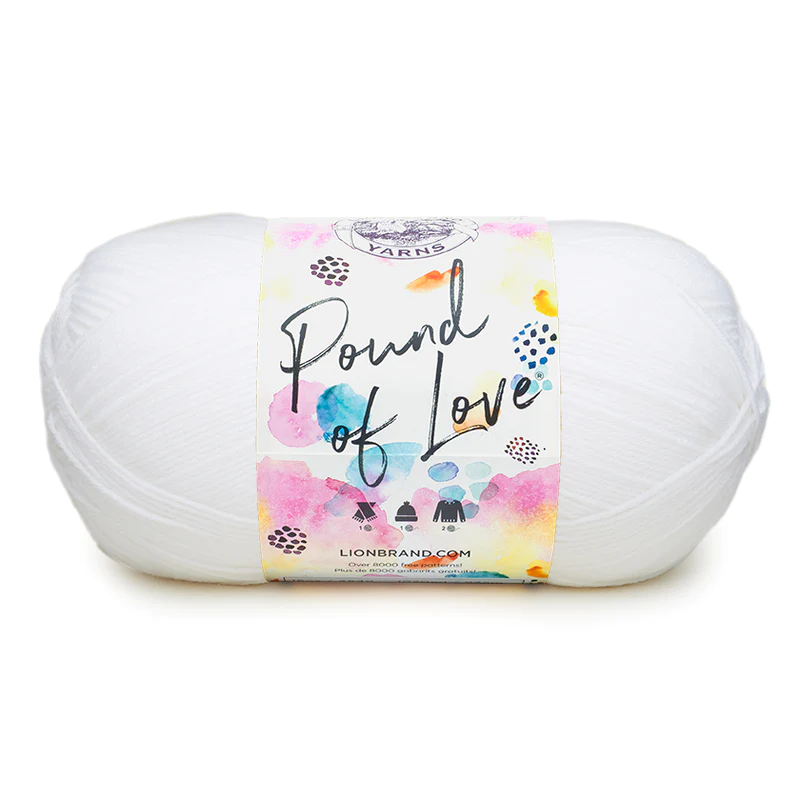
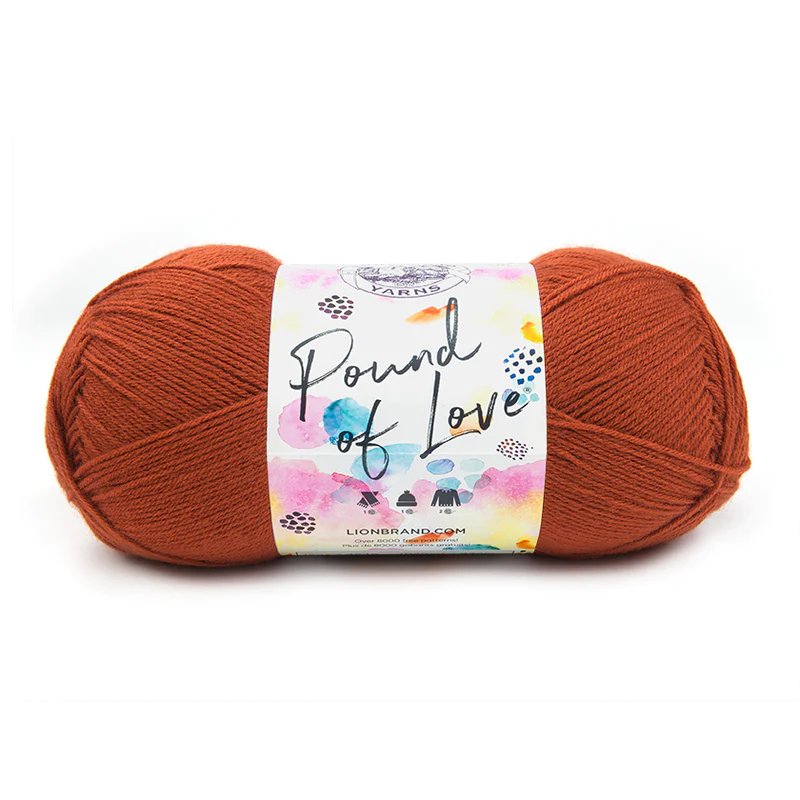
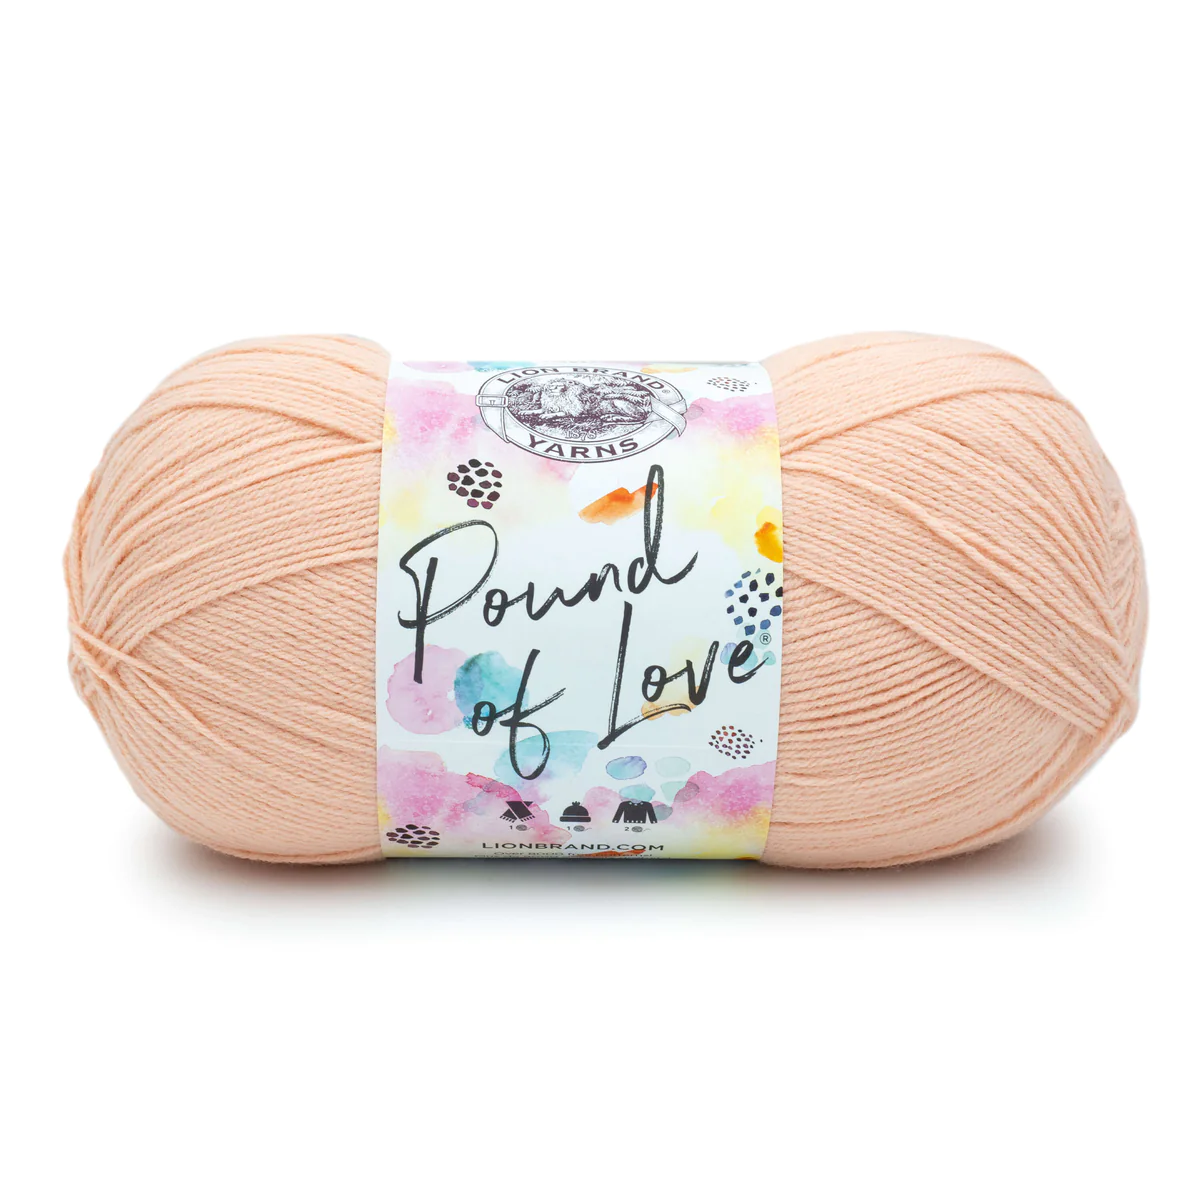
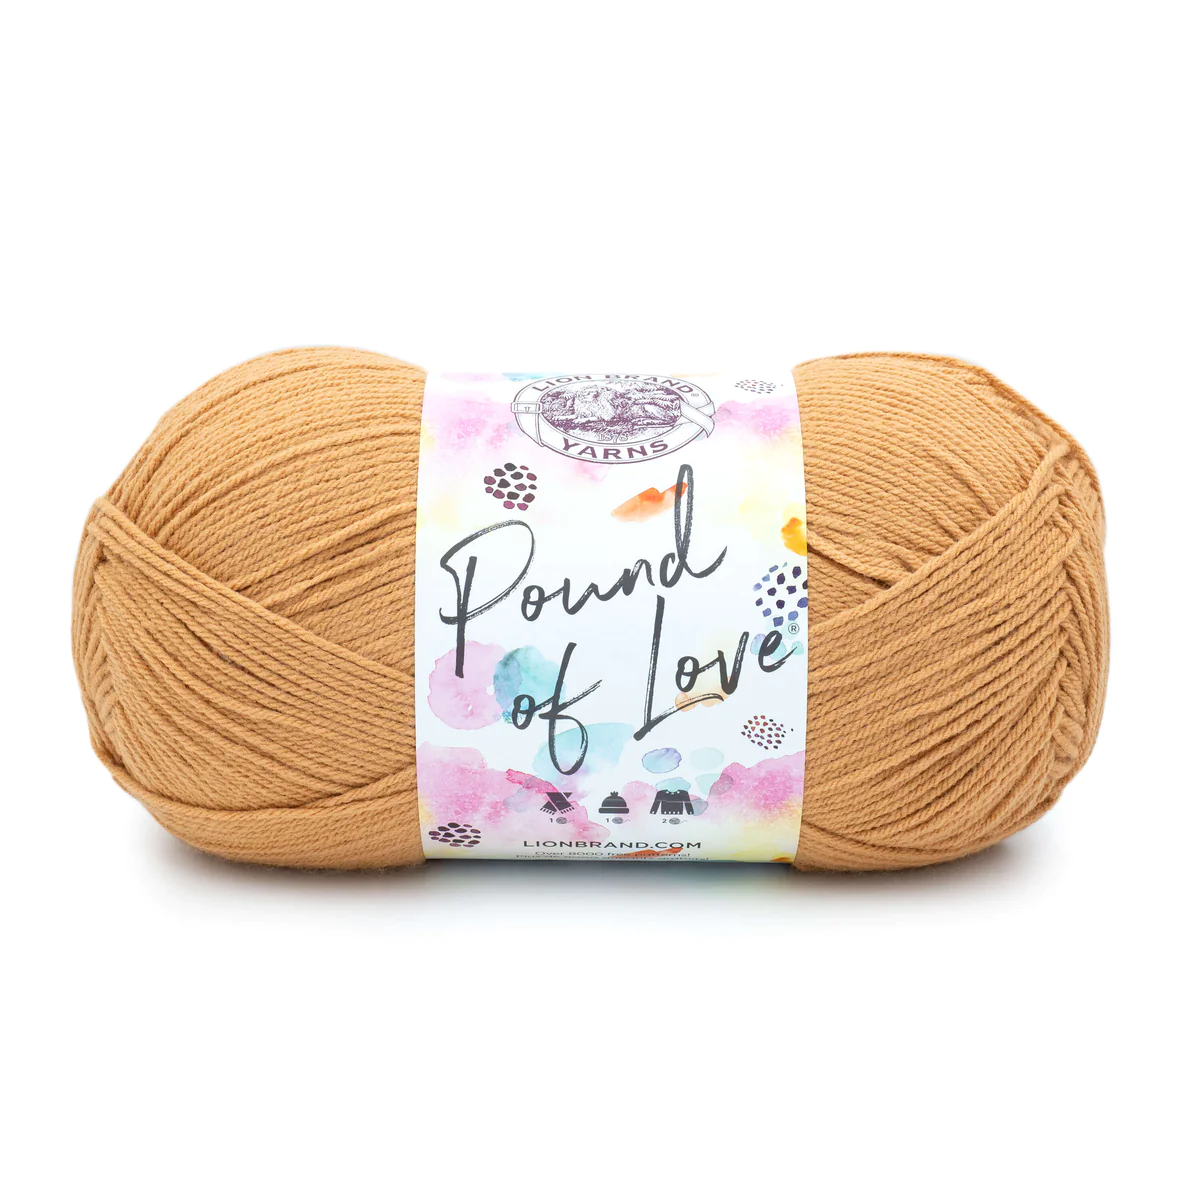
Thiago is worked with the gorgeous and super soft Lion Brand Pound of Love.
Choose your favorite colors and create your very own Thiago the Parrot!
***You can purchase a downloadable AD-FREE PDF of the pattern with more than 90
step-by-step pictures, diagrams, sketches and tips to guide you through the making process on
Here is the FREE pattern!
YARN: Lion Brand POUND OF LOVE - worsted weight yarn (4) in
#173AB Waterfall 1 ball (A)
#100 White 1 ball (B)
#135N Pumpkin Pie 1 ball (C)
#132Z Pumpkin Spice 1 ball (D)
#104Q Pink Salt 1 ball (E)
MATERIALS: E/3.5 mm crochet hook, poly filling, yarn needle, black cotton thread
ABBREVIATIONS:
beg = begin(ninig)
ch = chain
hdc = half double crochet
dc = double crochet
rep = repeat
rnd(s) = round(s)
sc = single crochet
sl st = slip stitch
st(s) = stitch(es)
SKILL LEVEL: Intermediate
Disclosure. Most blog posts on this website contain affiliate links. This means I get a small commission if you click-through & purchase (no additional cost to you).
Body
With A, make a magic ring.
Rnd 1: work 8 sc in ring.
Rnd 2: 2 sc in each st around – 16 sc.
Rnd 3: * sc in next st, 2 sc in next st; rep from * around – 24 sc.
Rnd 4: * sc in next 2 sts, 2 sc in next st; rep from * around – 32 sc.
Rnd 5: * sc in next 3 sts, 2 sc in next st; rep from * around – 40 sc.
Rnd 6: * sc in next 4 sts, 2 sc in next st; rep from * around – 48 sc.
Rnd 7: sc in each st around – 48 sc.
Rnd 8: * sc in next 7 sts, 2 sc in next st; rep from * around – 54 sc.
Rnd 9: sc in each st around – 54 sc.
Rnd 10: sc in next 16 sts, switch to B, sc in next 10 sts, switch back to A, sc in next 28 sts – 54 sc.
Rnd 11: sc in next 15 sts, switch to B, sc in next 12 sts, switch back to A, sc in next 27 sts – 54 sc.
Rnd 12: sc in next 14 sts, switch to B, sc in next 14 sts, switch back to A, sc in next 26 sts – 54 sc.
Rnd 13: sc in next 8 sts, 2 sc in next st, sc in next 5 sts, switch to B, sc in next 3 sts, 2 sc in next st, sc in next 8 sts, 2 sc in next st, sc in next st, switch back to A, sc in next 7 sts, 2 sc in next st, * sc in next 8 sts, 2 sc in next st; rep from * twice – 60 sc.
Rnd 14: sc in next 15 sts, switch to B, sc in next 16 sts, switch back to A, sc in next 29 sts – 60 sc.
Rnds 15 - 19: rep Rnd 14 – 60 sc.
Rnds 20 - 30: working with A only, sc in next 60 sts – 60 sc.
Rnd 31: * sc in next 8 sts, sc2tog; rep from * around – 54 sc.
Rnd 32: * sc in next 7 sts, sc2tog; rep from * around – 48 sc.
Rnd 33: * sc in next 6 sts, sc2tog; rep from * around – 42 sc.
Rnd 34: working in back loop, * sc in next 5 sts, sc2tog; rep from * around – 36 sc.
Begin stuffing piece and continue stuffing until piece is complete.
Rnd 35: * sc in next 4 sts, sc2tog; rep from * around – 30 sc.
Rnd 36: * sc in next st, sc2tog; rep from * around – 20 sc.
Rnd 37: sc2tog around – 10 sc.
Rnd 38: sc2tog around – 5 sc.
Fasten off, leaving a long tail. Thread tail through top of sts of last rnd. Pull tail to close opening and knot securely.
Beak
Upper Beak
With C make a magic ring.
Row 1: work 6 sc in ring; do not close the ring; pull the yarn tail to draw the center of the ring closed; Turn – 6 sc.
Row 2: Ch 1, 2 sc in next st, 1 sc in next st, 2 sc in next 2 sts, 1 sc in next st, 2 sc in next st; Turn – 10 sc.
Row 3: Ch 1, 1 sc in next 4 sts, 2 sc in the next 2 sts, 1 sc in next 4 sts – 12 sc.
Row 4: 1 sc in each st along – 12 sc.
Row 5: 2sctog, 1 sc in next 8 sts, sc2tog – 10 sc.
Row 6: sc in next 2 sts, sl st in next st, hdc in next st, dc in next st, 3 chs, 1 sl st into 1st ch, dc in the next st, hdc in next st, sl st in next st, sc in next 2 sts– 14 sts.
Fasten off.
Lower Beak
With C, make a magic ring.
Rnd 1: work 8 sc in ring.
Rnd 2: 2 sc in each st around – 16 sc.
Rnd 3: * sc in next 3 st, 2 sc in next st;
rep from * around – 20 sc.
Rnd 4: sc in each st around – 20 sc.
Do not fasten off.
Place Upper Beak on top of Lower Beak, so that ends of rows of Upper Beak match the first 12 sts of last rnd of Lower Beak. Insert hook into end of Row 6 of Upper Beak, place dropped loop from Lower Beak on hook and draw loop through, ch 1; insert hook into end of same row of Upper Beak then into first st of Lower Beak, and work a single crochet (sc); continue working through both thicknesses, sc in end of next 11 rows of Upper Beak and next 11 sts of last rnd of Lower Beak; leave last 8 sts of Lower Beak unworked. Fasten off, leaving a long tail for sewing Beak to Body between rnds 11 and 18.
With black embroidery floss, embroider Eyes between rnds 12 and 15 (two stitches wide and 2 sts high).
Feathers
Feather I
With D, make a magic ring.
Rnd 1: work 6 sc in ring.
Rnd 2: 2 sc in each st around – 12 sc.
Rnd 3: sc in each st around – 12 sc.
Rnd 4: * 1 sc in next 4 sts, st2tog; rep from * twice – 10 sc.
Rnd 5: * 1 sc in next 3 sts, st2tog; rep from * twice – 8 sc.
Rnd 6: * 1 sc in next 2 sts, st2tog; rep from * twice – 6 sc.
Row 7: Flatten last rnd and crochet through both layers, 1 sc in next 3 sts – 3.
Fasten off, leaving a long tail for sewing Feather to Body.
Feather II
With D, make a magic ring.
Rnd 1: work 6 sc in ring.
Rnd 2: 2 sc in each st around – 12 sc.
Rnd 3: * 1 sc in next 5 sts, 2 sc in next st; rep from * twice – 14 sc.
Rnd 4: sc in each st around – 14 sc.
Rnd 5: * 1 sc in next 5 sts, st2tog; rep from * twice – 12 sc.
Rnd 6: * 1 sc in next 4 sts, st2tog; rep from * twice – 10 sc.
Rnd 7: * 1 sc in next 3 sts, st2tog; rep from * twice – 8 sc.
Rnd 8: * 1 sc in next 2 sts, st2tog; rep from * twice – 6 sc.
Row 9: Flatten last rnd and crochet through both layers, 1 sc in next 3 sts – 3.
Fasten off, leaving a long tail for sewing Feather to Body.
Feather III
With D, make a magic ring.
Rnd 1: work 6 sc in ring.
Rnd 2: 2 sc in each st around – 12 sc.
Rnd 3: * 1 sc in next 2 sts, 2 sc in next st; rep from * around – 16 sc.
Rnd 4: sc in each st around – 16 sc.
Rnd 5: * 1 sc in next 6 sts, st2tog; rep from * twice – 14 sc.
Rnd 6: * 1 sc in next 5 sts, st2tog; rep from * twice – 12 sc.
Rnd 7: * 1 sc in next 4 sts, st2tog; rep from * twice – 10 sc.
Rnd 8: * 1 sc in next 3 sts, st2tog; rep from * v – 8 sc.
Rnd 9: * 1 sc in next 2 sts, st2tog; rep from * twice – 6 sc.
Row 10: Flatten last rnd and crochet through both layers, 1 sc in next 3 sts – 3.
Fasten off, leaving a long tail for sewing Feather to Body.
With D, sew Feathers I between rnds 4 and 5.
With D, sew Feathers II between rnds 3 and 4.
With D, sew Feathers III between rnds 2 and 3.
Feet (make two)
With C, make a magic ring.
Rnd 1: work 6 sc in ring.
Rnd 2: 2 sc in each st around – 12 sc.
Rnd 3: * 1 sc in next 2 sts, 2 sc in next st; rep from * around – 16 sc.
Rnd 4: * 1 sc in next 3 sts, 2 sc in next st; rep from * around – 20 sc.
Do not fasten off. Flatten the crocheted piece.
Toe I
With C
Rnd 1: 1 sc in the next 4 sts, keep working by inserting hook into st 18 (facing the outside of the crocheted piece) of rnd 4, sc into the same st, sc in each of the next 2 sts – 7 sc.
Rnd 2: 1 sc in the next 5 sts, sc2tog – 6 sc.
Rnds 3 - 4: sc in each st around; do not stuff – 6 sc.
Fasten off, leaving a long tail. Thread tail through top of sts of last rnd. Pull tail to close opening and knot securely.
Toe II
With C
Rnd 1: insert hook into st 5 of rnd 4, draw up a loop and sc into the same st, sc in each of the next 3 sts, keep working by inserting hook into st 15 (facing the outside of the crocheted piece) of rnd 4, sc into the same st, sc in each of the next 2 sts – 7 sc.
Rnd 2: 1 sc in the next 5 sts, sc2tog – 6 sc.
Rnds 3 - 5: sc in each st around; do not stuff – 6 sc.
Fasten off, leaving a long tail. Thread tail through top of sts of last rnd. Pull tail to close opening and knot securely.
Toe III
With C
Rnd 1: insert hook into st 9 of rnd 4, draw up a loop and sc into the same st, sc in each of the next 5 sts– 6 sc.
Rnds 2 - 4: sc in each st around; do not stuff – 6 sc.
Fasten off, leaving a long tail. Thread tail through top of sts of last rnd. Pull tail to close opening and knot securely.
Toe IV
With C, make a magic ring.
Rnd 1: work 6 sc in ring.
Rnds 2 - 4: sc in each st around – 6 sc.
Fasten off, leaving a long tail. Thread tail through top of sts of last rnd. Pull tail to close opening and knot securely.
With C, sew Toe IV to Foot, between rnds 1 and 3.
With C, sew Feet to bottom of Body.
Wings (make two)
Left Wing
With D, make a magic ring.
Rnd 1: work 8 sc in ring.
Rnd 2: * sc in next st, 2 sc in next st; rep from * around – 12 sc.
Rnd 3: * 1 sc in next 2 sts, 2 sc in next st; rep from * around – 16 sc.
Rnd 4: sc in each st around – 16 sc.
Rnd 5: * 1 sc in next 6 sts (7), 2 sc in next st; rep from * twice – 18 sc.
Rnds 6 and 7: sc in each st around – 18 sc.
Row 8: Flatten the last rnd and crochet through both layers, 1 sc in next 9 sts; Turn – 9 sc.
Row 9: Ch1, 3 chs, sl st in same st, sl st in next st, 4 chs, 1 sl st in same st, sl st in next st, 4 chs, 1 sl st in same st, sl st in next st, 5 chs, 1 sl st in same st, sl st in next st, 5 chs, 1 sl st in same st, sl st in next st, 6 chs, 1 sl st in same st, sl st in next st, 6 chs, 1 sl st in same st, sl st in next st, 7 chs, 1 sl st in same st, sl st in next st, 7 chs, 1 sl st in same st – 9 sc.
Fasten off, leaving a long tail for sewing Wing to Body.
Right Wing
With D, make a magic ring.
Rnd 1: work 8 sc in ring.
Rnd 2: * sc in next st, 2 sc in next st; rep from * around – 12 sc.
Rnd 3: * 1 sc in next 2 sts, 2 sc in next st; rep from * around – 16 sc.
Rnd 4: sc in each st around – 16 sc.
Rnd 5: * 1 sc in next 7 sts, 2 sc in next st; rep from * twice – 18 sc.
Rnds 6 and 7: sc in each st around – 18 sc.
Row 8: Flatten last rnd and crochet through both layers, 1 sc in next 9 sts; Turn – 9 sc.
Row 9: Ch1, 7 chs, sl st in same st, sl st in next st, 7 chs, 1 sl st in same st, sl st in next st, 6 chs, 1 sl st in same st, sl st in next st, 6 chs, 1 sl st in same st, sl st in next st, 5 chs, 1 sl st in same st, sl st in next st, 5 chs, 1 sl st in same st, sl st in next st, 4 chs, 1 sl st in same st, sl st in next st, 4 chs, 1 sl st in same st, sl st in next st, 3 chs, 1 sl st in same st – 9 sc.
Fasten off, leaving a long tail for sewing Wing to Body.
TAIL
With A, make a magic ring.
Rnd 1: work 6 sc in ring.
Rnd 2: sc in each st around – 6 sc.
Rnd 3: * 1 sc in next st, 2 sc in next st; rep from * around – 9 sc.
Rnd 4: * 1 sc in next 2 sts, 2 sc in next st; rep from * around – 12 sc.
Rnd 5: * 1 sc in next 3 sts, 2 sc in next st; rep from * around – 15 sc.
Rnd 6: * 1 sc in next 4 sts, 2 sc in next st; rep from * around – 18 sc.
Fasten off, leaving a long strand for sewing Tail to Body between rnds 27 and 32.
Stuff Tail.
Cheeks (make two)
With E, make a magic ring.
Rnd 1: work 8 sc in ring – 8 sc.
Fasten off, leaving a long tail to sew Cheek to Body between rnds 15 and 19.
I can't wait to see your version of my THIAGO THE PARROT! Feel free to tag me (@elisascrochet) in your photos on Instagram or Facebook!
Elisa
This pattern is an original pattern by Elisa Sartori of Elisa's Crochet. Please do not claim this pattern as your own. If you wish to share this pattern, you may link to this pattern but please do not reprint it on your site. You may keep a copy for your own personal use but please DO NOT sell the pattern or distribute it.
You may sell products made from this pattern but please clearly credit the design to me, Elisa Sartori of Elisa's Crochet. Permission is NOT granted for mass production or factory manufacturing of any kind. Thank you!




The 2024 Benthos 500 "Founder's Edition" Chronograph measures 42mm wide, 15.8mm thick, and 47mm lug to lug. With 22mm lugs, 200 meters of link water resistance, a flat link sapphire crystal with AR coating, and a luminous ceramic bezel, the 300-piece numbered limited edition is finished with a solid steel case link back.
The Watch: Seiko 5 Sports GMT SSK003Why It's Cool: It's a Seiko GMT based in the general format of link the venerable SKX007. If like me, you've been wishing for the better part of the last decade that Seiko would make link an SKX link GMT, this is a deeply cool watch that manages to come in at a very attractive price point.
Click here provide members with discounts on over-the-counter medications, vitamins, and health essentials, promoting better health management and cost-effective wellness solutions. kaiserotcbenefits.com - more details here
Click here help you find recent death notices, providing information about funeral services, memorials, and tributes for loved ones in your area. obituariesnearme.com - more details here
Click here? Many users have had mixed experiences with the platform, so it's important to read reviews and verify deals before booking. istravelurolegit.com - more details here
AV在线看 AV在线看;
自拍流出 自拍流出;
国产视频 国产视频;
日本无码 日本无码;
动漫肉番 动漫肉番;
吃瓜专区 吃瓜专区;
SM调教 SM调教;
ASMR ASMR;
国产探花 国产探花;
强奸乱伦 强奸乱伦;
AV在线看 AV在线看;
自拍流出 自拍流出;
国产视频 国产视频;
日本无码 日本无码;
动漫肉番 动漫肉番;
吃瓜专区 吃瓜专区;
SM调教 SM调教;
ASMR ASMR;
国产探花 国产探花;
强奸乱伦 强奸乱伦;